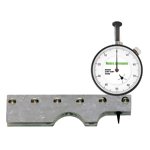
Western Instruments Pit Gauges assure compliance with vessel, pipeline, tank and OCTG specifications for corrosion and erosion depth measurement.
Measuring Range: 0.0-0.5" (0.0 - 12.7 mm)
Resolution: 0.001" (0.01 mm)
Dial Diameter: 1.4" (35.5 mm)
4.75" (121 mm) Blade
Available with dial or digital indicators
Western Instruments Pit Depth Gauges allow the Corrosion Inspector to conveniently measure Pit Depth or material loss in areas of Weight-Loss Corrosion.Various Blades for the Pit Gauges are available for different applications, including the Bridging Pit Gauge which permits Inspectors to Span or Cantilever over large areas of Weight-Loss Corrosion, to get a true measure of Pit Depth

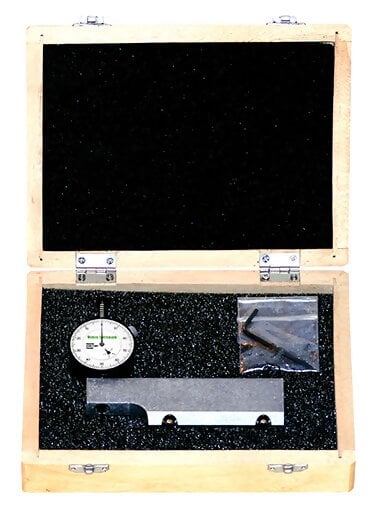
Kit Contents

- Western Instruments N88-5M Reaching Magnetic Pit Gauge
- 4.75" (121mm) Blade c/w Two(2) magnet cartridges
- Operator Instructions
- Carrying Case
|  |

Features

Zeroing Dial Indicator
- To quickly check the Zero Point of the Dial indicator, place the Blade on a representative smooth surface.
- Gently press the Plunger, until the contact point touches the surface.
- While the contact point is on the surface, loosen the Bezel Lock, and rotate the Bezel Scale until it reads '0' with respect to the pointer.
- Loosen the Fastener(s) holding the Dial Indicator in place.
- Hold the Blade firmly on a Flat Surface, and gently press the body of the Dial Indicator down until the contact point touches the flat surface.
- Carefully re-tighten the Clamp Fastener(s) or the Set Screw.
- Any fine zeroing can be done by rotating Bezel Scale on the Indicator.
- Height Zeroing should be done, whenever the unit is put into to use.
- Digital Indicators can be Height Zeroed or Positioned in the same way as a Mechanical Dial Indicator.
- To Zero the Digital Indicator simply press the Zero Button when the Contact Point is on a reference point. If the Digital Indicator is Height Zeroed, press Zero when the Plunger is fully retracted.
- To select Metric or Imperial Measurement, simply press the mm/in Button.Whennot in use, press the On/Off Button to turn the Indicator off.
- The position (or rotation) of the Dial indicator can be changed by simply loosening the Clamp Fasteners or Set Screw, and rotate the Dial Indicator about the Blade.
- After the Dial Indicator is rotated, the unit should be Dial Zeroed.

Specifications

Dial and Digital Indicators
 Measuring Corrosion (Depth)
* Western offers a variety of Contact Points, which are all 0.625" (16mm) long. Any ADG Contact point can be used with our specialdial indicators, but a different length may affect Height Zeroing, or the vertical position of the Dial Indicator. Contact Points are easily replaced, by extending the Contact Point , and turning it counter clockwise.

Related Products


N88-12
Reference Pit Gauge- 5.5" (140mm) long, 0.75" (19mm) wide with inverted V Edge, 2 magnet cartridges. Similar and interchangeable with Bridging Pit Gauge Main Blade.
|  |

Downloads
